
1. Duplicate the layer you just created (the one named orangish brown) and make sure it resides on top of the previously created layer. Name it "blue outlines"
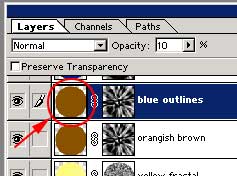
2. Make sure your Iris selection is active. Make sure the image layer is selected and not the layer mask (paintbrush icon next to eyeball icon). You can click on the image icon to make sure. (Figure 12)
3. Create a blue color in your foreground color palette. I used RGB 5, 34, 142. Fill the circular area with the blue color by holding down the alt key and pressing the backspace key.
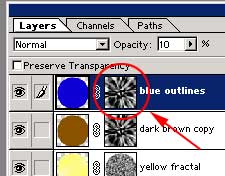
4. Select the layer mask portion of the layer by clicking on the layer mask. (Figure 13) (Remember the icon will turn into a little circle next to the eyeball).
5. Filter Menu -> Stylize -> Trace Contour, amount = 118. (basically what you want to do here is move the slider around until you get as many contour lines as you would like).
6. Image -> Adjust -> Invert.
7. Filter Menu -> Blur -> Gaussian Blur, Amount = 1.0
8. Set the layer opacity to 25%


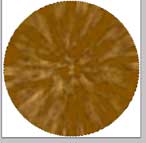
(although the blue lines may be hard to see in this image)