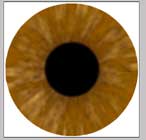
1. Create a new layer and name it "dark ring."
2. This layer should be beneath the pupil layer (actually the pupil layer is the very top layer when this is all said and done).
3. If you have deselected the pupil selection, make the selection active again by loading the selection (Select Menu -> Load Selection).
4. Create a dark brown color in your color palette RGB 68, 40, 11.
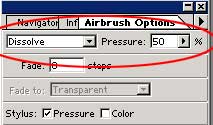
5. Select your airbrush tool from the tools palette. In the options palette set the airbrush to the "dissolve" method in the drop down menu on the Airbrush options palette and set the opacity to 50%. (Figure 17)
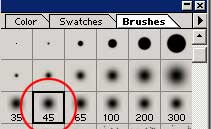
6. Select the soft brush with a size of 45 in your brushes palette (Figure 18)
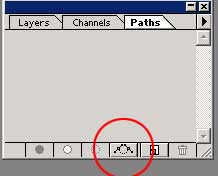
7. Click on the "path" tab where your layer palette is. Or you can take the Window Menu option -> View Paths. At the bottom of the palette is a "create path" icon. Click on it. (Figure 19)
8. You should now see a "work path" of your circle appear in that palette.
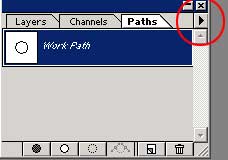
9. Now display the path menu by clicking on the side arrow at the upper right side of the path palette. (Figure 20)
10. Take the "stroke path" menu option.
11. When the dialog box comes up make sure you have the "Airbrush" option selected in the drop-down menu. Click OK.
12. From the path menu take the menu option "turn off path" or just click in an empty space beneath the work path in the path palette.
13. Click on the "layers" tab to make that visible again.
14. Filter Menu -> Noise -> Add Noise, Amount = 40
15. Filter Menu -> Blur -> Radial Blur, Amount = 100. Do this step twice.
